
In this diary, I’m going to explain how I draw buildings (and shape in general), with my tricks for doing the most precise work possible and achieving the greatest possible symmetry and alignment, but without measuring everything out either.
It’s my meticulous way of trying to do things as perfectly as possible, and everyone does it the way they want. There are many times when I do things more simply and less precisely
Tip 1: Use JOSM
![]()
The JOSM editor is essential for perfect building creation, in combination with the “buildings_tools” and “utilsplugin2” plugins! 
I also use many JOSM shortcuts.
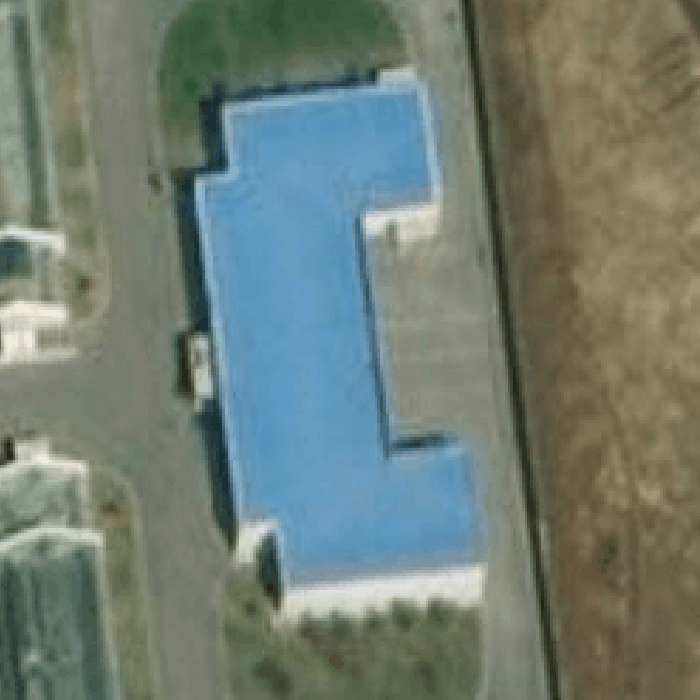
Tip 2: Perfect extrusion
✔️ Do

Because: Using a second rectangle and then extruding keeps the top two parts of the building aligned, same for the bottom.
❌ Don’t do
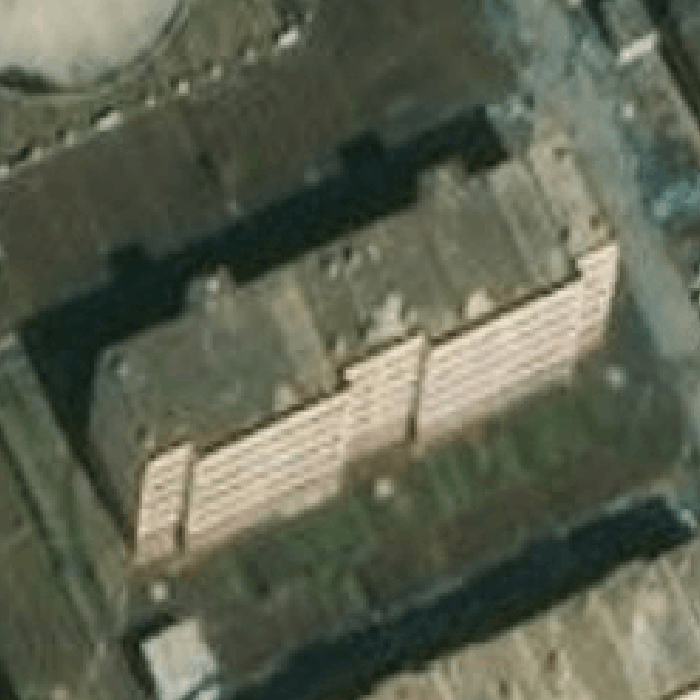
Because: Doing the two small parts on top and on bottom one by one doesn’t ensure that they’re correctly aligned.
Tip 3: Perfect extrusion bis
✔️ Do
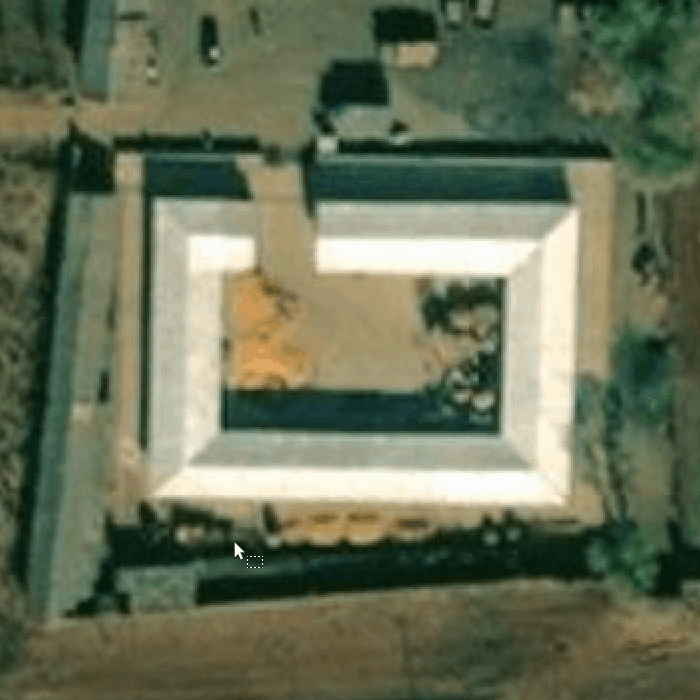
Because: Using a rectangle which is then extruded ensures perfect alignment for each side.
❌ Don’t do
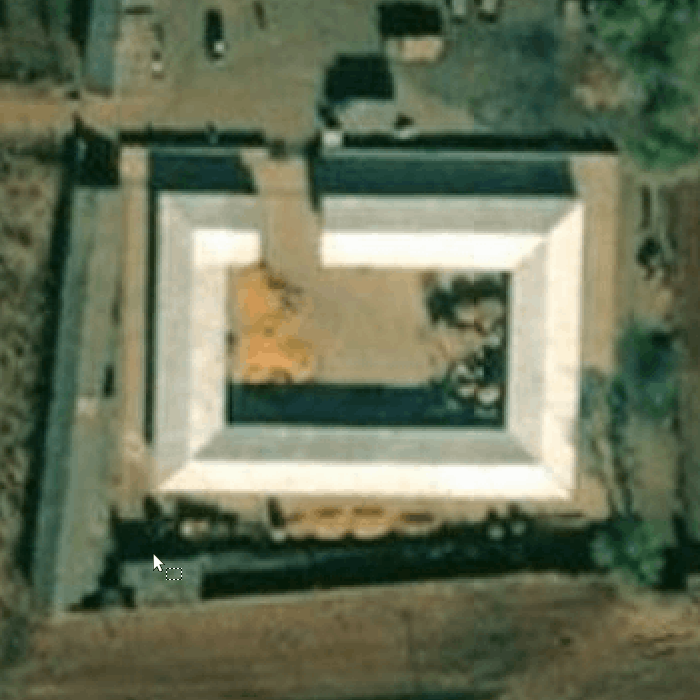
Because: Making each part after the other means that the two sides can have different widths and not be aligned.
Tip 4: Perfect extrusion ter
✔️ Do
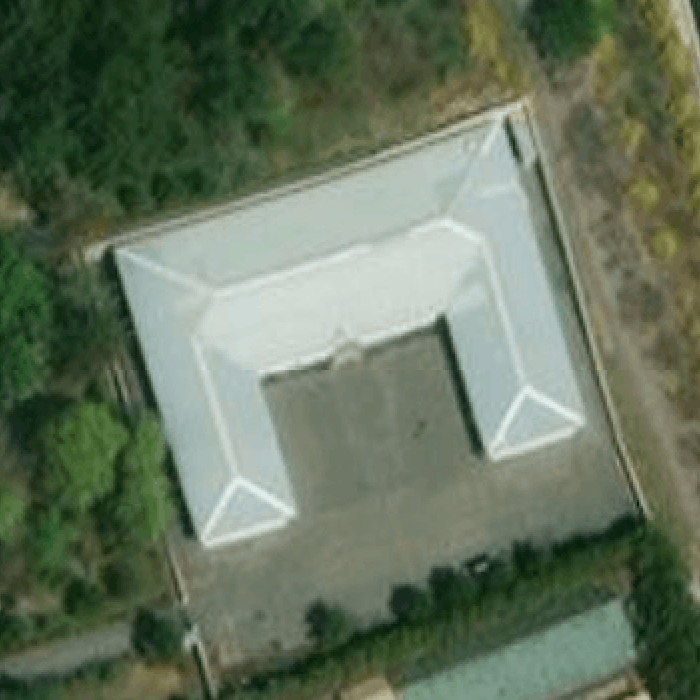
Because: Extruding the building keeps it perfectly aligned.
❌ Don’t do

Because: Extruding one by one doesn’t let you know on both parts are aligned.
Tip 5: Perfect extrusion quater
✔️ Do

Because: The little yellow crosses between the segments can be used to check whether the parts are proportional, and also to align different blocks perfectly.
❌ Don’t do
Because: Extruding each part doesn’t tell you whether they’re aligned, and the last rectangle on the left is not correctly aligned in the center.
Tip 6: Two points perfectly apart ⚫↔⚫.
✔️ Do

Tip 7: Perfect triangle 🔻.
✔️ Do
Because: Build a 6-point closed shape, make it round, remove the three unnecessary points. Without this, the triangle won’t have three sides of the same length, the triangle won’t be perfect. The “O” shortcut (to form a circle) won’t work with three points.
Tip 8: Perfect square 🔲.
✔️ Do

Because: The four sides are the same length and are perpendicular, otherwise the four sides won’t be exactly the same length.
Tip 9: Perfect star ⭐.
✔️ Do

Because: This ensures that all segments of the same size are perfectly symmetrical.
Tip 10: Right triangle 📐.
✔️ Do

Because: This ensures that the triangle is perfectly right-angled.
Tip 11: Parallelogram.
✔️ Do

Because: Moving two points in a rectangle makes it easy to create a parallelogram.
Tip 12: Rhombus ♦️.
✔️ Do

Because: A rhombus is easily made from a perfect square, from which you move two points symmetrically using Ctrl+Alt.
Tip 13: Ellipse 🕳️.
✔️ Do

Because: An elipse is obtained by using the building tool in the round (Alt+Z), then symmetrically moving the points on either side of a central segment. For greater precision, points can be added using Shift+B, then moved symmetrically away from each other.
Tip 14: Rectangle with cutoff angles.
✔️ Do
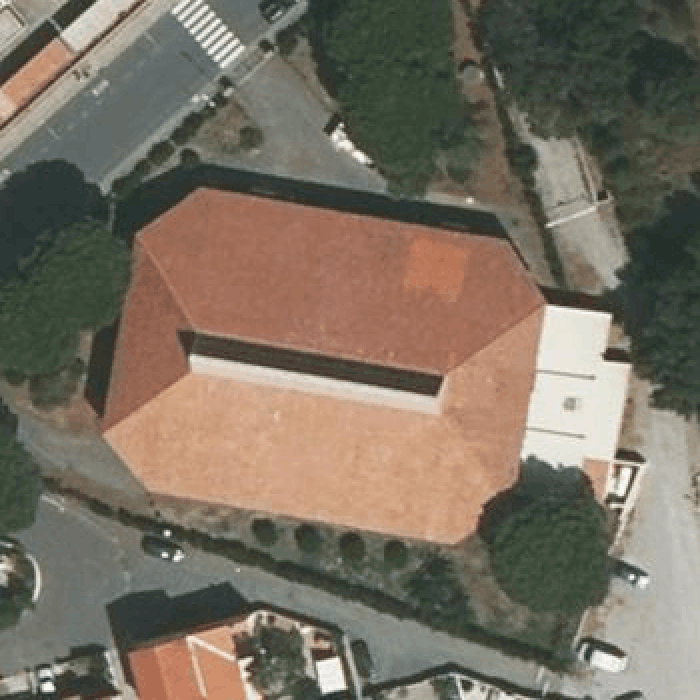
Because: a rectangle with cutoff angles can be obtained in many ways, the trick presented here consists of superimposing two rectangles, merging them and removing the unnecessary points.
Tip 15: Leisure track 🏃.
✔️ Do
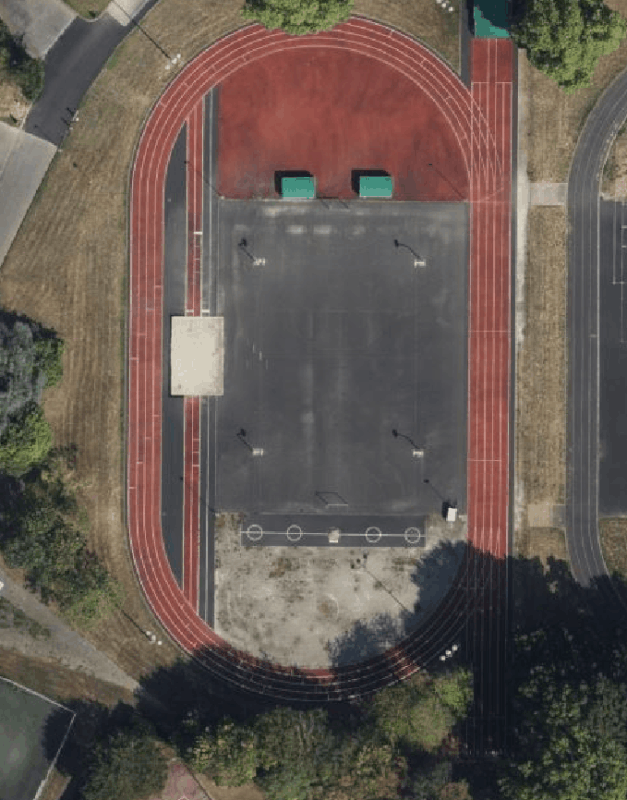
Because: An running track can be created by starting with a rectangle and adding circles on both sides, the same for the outer contour, with the addition of the sprint corridor, then making a multipolygon (shortcut Ctrl+B).
Disclaimer
They’re just tips on how to draw buildings in a precise way. I do it often, but there are many times when I don’t follow them, because it can be time-consuming. Still, I’m happy to try and do it so perfectly.
Edit 1 2024/09/02 : Change gif to add moving of buildings at the end of gif
Edit 2 2024/09/03 : Change gif to add all shortcuts used (Shift, Ctrl)
Edit 3 2024/09/07 : Add six new gif
Edit 4 2024/09/19 : Add emoji
讨论
Sylabowy Kot 于 2024年09月 2日 08:47 的评论
Very thanks, man. First glance at OSM diares and what I’ve seen! So that’s how do you manipulate shapes in a right geometric way.
MxxCon 于 2024年09月 2日 10:15 的评论
But you neglected to include one extremely important step: after you draw a building based on its roof shape, you have to move and align it to the building’s base. Aligning building to it’s roofline will position it in the wrong location
Koreller 于 2024年09月 2日 11:23 的评论
@MxxCon you’ve right ! But it’s not the intention of this guide to deal with the correct positioning of buildings, imagery offsets (or not) or tags!
Frans S 于 2024年09月 2日 16:44 的评论
Hi. Good guide for novice mappers. I agree with the comments of MxxCON about placing high rise mappings to its footprint. This has nothing to do with offset or tagging. It is just a major issue to map high rise buildings correctly. In your guide it is the possebility to adres this issue as well. You don’t want to know how much time validators spend on adjusting not correct placed mappings. Often they include the sidewalls as well.
Best regards
Frans
Koreller 于 2024年09月 2日 18:33 的评论
@MxxCon @Frans_S So I updated the gifs to correctly align them at the end.
okadatsuneo 于 2024年09月 3日 06:19 的评论
Thanks for the good tips. I want to know how to expand the selected two points in Tip 6. When I move it, the two nodes move in the same direction. Do I need to do any key operations?
Frans S 于 2024年09月 3日 07:20 的评论
Hi Koreller. I advise to add text with the key combination to be used on example 6 It is not obvious. CTRL+ALT does the job. Best regards
okadatsuneo 于 2024年09月 3日 08:09 的评论
@Frans_S Thanks!
amapanda ᚛ᚐᚋᚐᚅᚇᚐ᚜ 🏳️🌈 于 2024年09月 3日 11:40 的评论
That’s great animations!
Magick93 于 2024年09月 3日 19:56 的评论
Very useful thank you ❤️
LySioS 于 2024年09月 4日 06:09 的评论
Quand je repense à tous mes trapèzes que j’ai jamais réussi à faire réguliers, en me disant qu’il devait bien avoir une astuce 😅
LySioS 于 2024年09月 4日 06:36 的评论
We shoukd definitely have a wiki page to explain how to draw usual geometric shapes : Even better, a plugin to do so.
Rectangle ✅ Rectangle with cutoff angles (damn city stade) Square ✅ Triangle (equilateral) ✅ Triangle (isoceles) Right triangle, rectangle minus one point ✅ trapeze ✅ Parallelogram Rhombus Ellipse 😭 A two rounded face rectangle (running tracks) : draw a rectangle. Use small side of it as diameter , draw a circle, cut it in half. Separate anf union all the parts
InsertUser 于 2024年09月 4日 10:58 的评论
The building tools plugin has a setting to Auto-select building if nothing is currently selected (CTRL+ALT+B to get the menu). This is very useful if the place you are mapping rarely has plain rectangles. You can always ESC out of the selection too.
Tip 3: Temporary sketch geometry is very useful for squaring things, but in this particular case forming the initial “U” could be done in two steps one to the inside of the false courtyard one while holding SHIFT and dragging the rest of the way. This will leave nodes at the original inner corners so you can just extrude sideways.
Tip 5: To do this precisely you can add the nodes for the extrusion to the side you want to extrude, select all four nodes in the line and Distribute nodes (SHIFT+B) to get them aligned and evenly spaced then select just the inner nodes and use Tip 6 to adjust their spacing to the correct location for the extrusion. For extensions you can also use the Distribute nodes tool to put a point at the midpoint of the two rectangles then select one of the rectangles and its new midpoint and hold CTRL as you drag it to the other midpoint to get it to snap, this can be useful if the extension is only half the height of the rest of the building so it’s easier to draw separately anyway.
Fnordson 于 2024年09月 8日 11:18 的评论
The best tutorial I’ve seen on this topic and after all those years, I still learned new things. Thank you very much.
groberschnitzer 于 2024年09月 8日 12:40 的评论
Very nice thanks, i only knew all this earlier! Last year there was a maproulette challenge, where i created a few dozen track leisure relations. This would have saved me a lot of time.
Argbjorn 于 2024年09月 8日 21:12 的评论
Great, thanks. I drew a lot of buidings, but this article is useful for me
ChicoXXX 于 2024年09月 9日 03:50 的评论
Great :-) Thanks :-)
GanderPL 于 2024年09月 9日 10:09 的评论
I have some edits that require a lot of fiddling, but I believe there are easier ways. I’ll send you questions about that, I just need to record how I do it now so you know what I’m trying to achieve. Maybe you can give me a better recipe.
KofDim 于 2024年09月 9日 19:35 的评论
Спасибо
tallcoleman 于 2024年09月21日 03:09 的评论
Thank you for taking the time to make this! The GIFs are really good, so easy to follow.
Nicolelaine 于 2024年10月 1日 10:38 的评论
Love this, great work!
amzlc 于 2024年10月12日 20:45 的评论
Very good
muzirian 于 2024年10月22日 18:31 的评论
Nice guide, btw if you want nicer ellipses you can use cad tools plugin
Calvin Menttor 于 2025年01月13日 19:23 的评论
Awesome 😎
ENGELBERT MODO 于 2025年02月 1日 19:40 的评论
awesome very insighful